
A participant group allows you to paste several Connect IDs into one manageable group that can be repeatedly used to Include or Exclude participants across multiple studies.
To create a participant group, select "Participant Groups" from the menu to the left of the Dashboard.
On the next page, select "Create Group." Within the "Create New Participant Group" wizard, give your group a name and briefly describe what the group is for (e.g., men under age 40). This description should be something that will be meaningful to you over time.
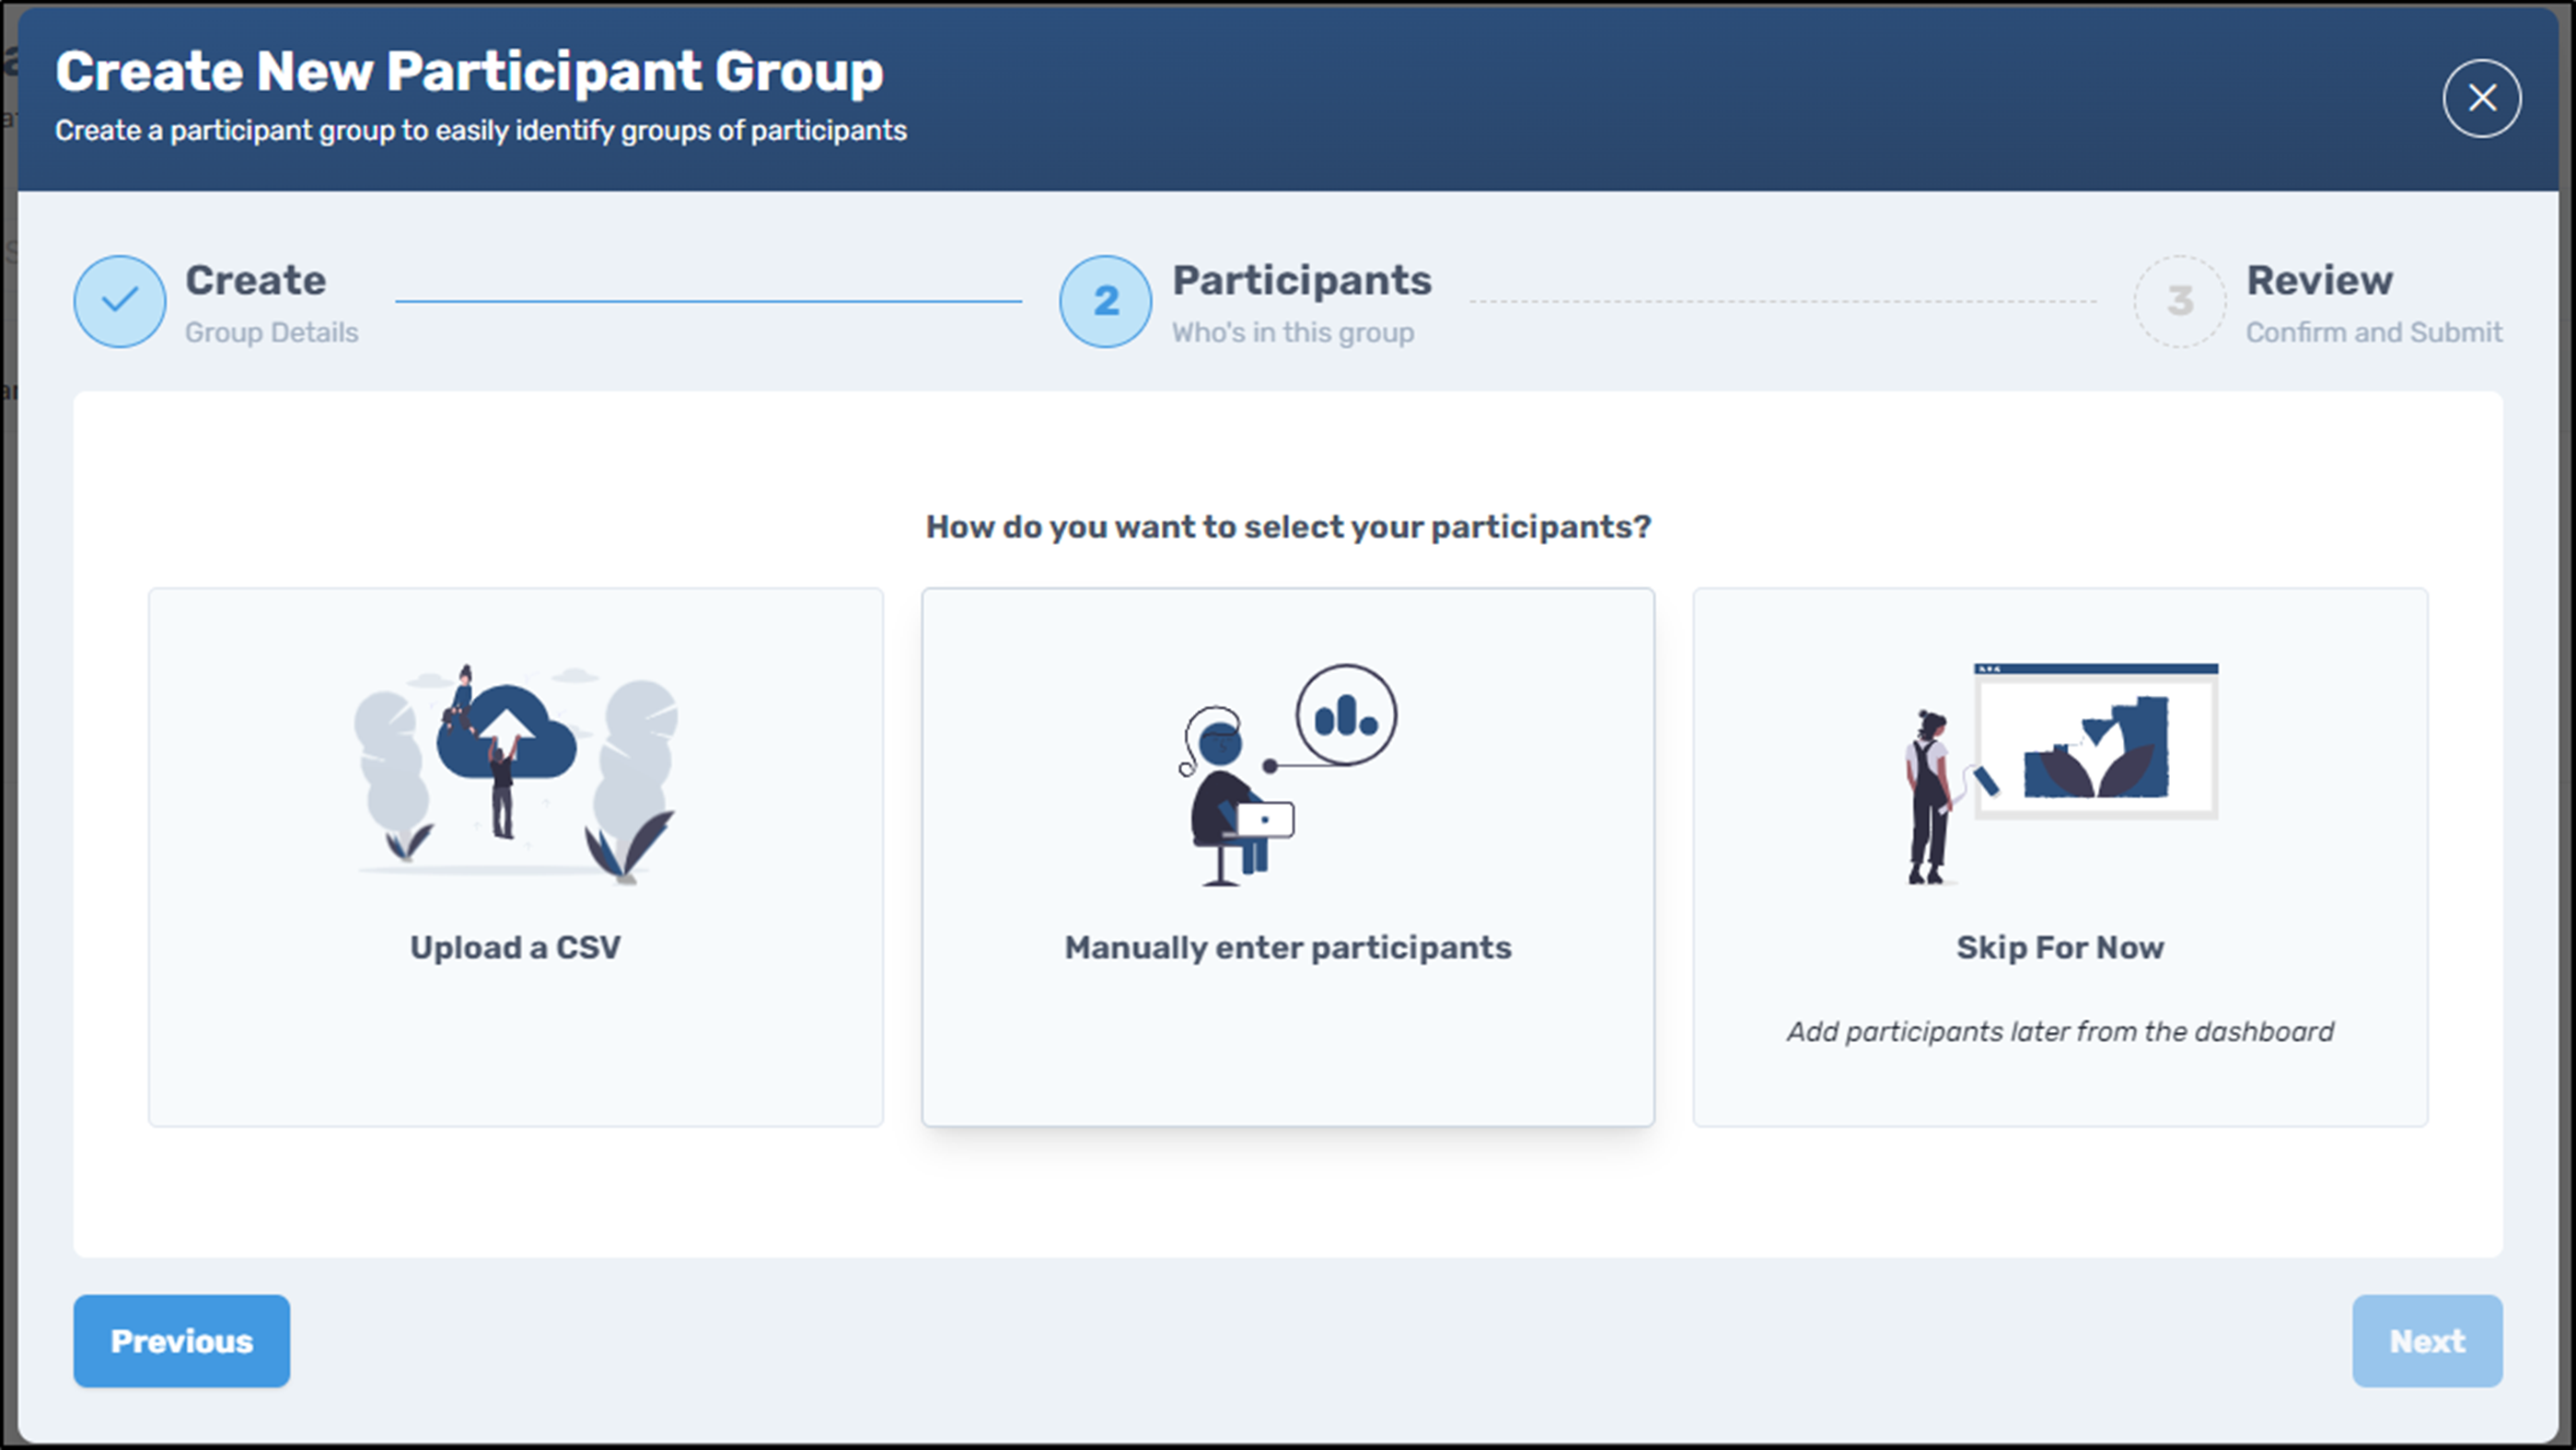
Within step 2 of the wizard, you can upload a csv file with Connect IDs, or you can manually enter a group of participant IDs.
Finally, review your selections and click "Submit" You can now apply this participant group during the study creation process.
To manage your groups, select the "Participant Groups" section.
Comments
0 comments
Please sign in to leave a comment.